How To Create Your Own Road

Can't see your favourite road in the Motorcycle Diaries atlas? No problem: you can create it yourself. Check out our guide to publishing your treasured stretch of tarmac, and making your mark in the MD community.

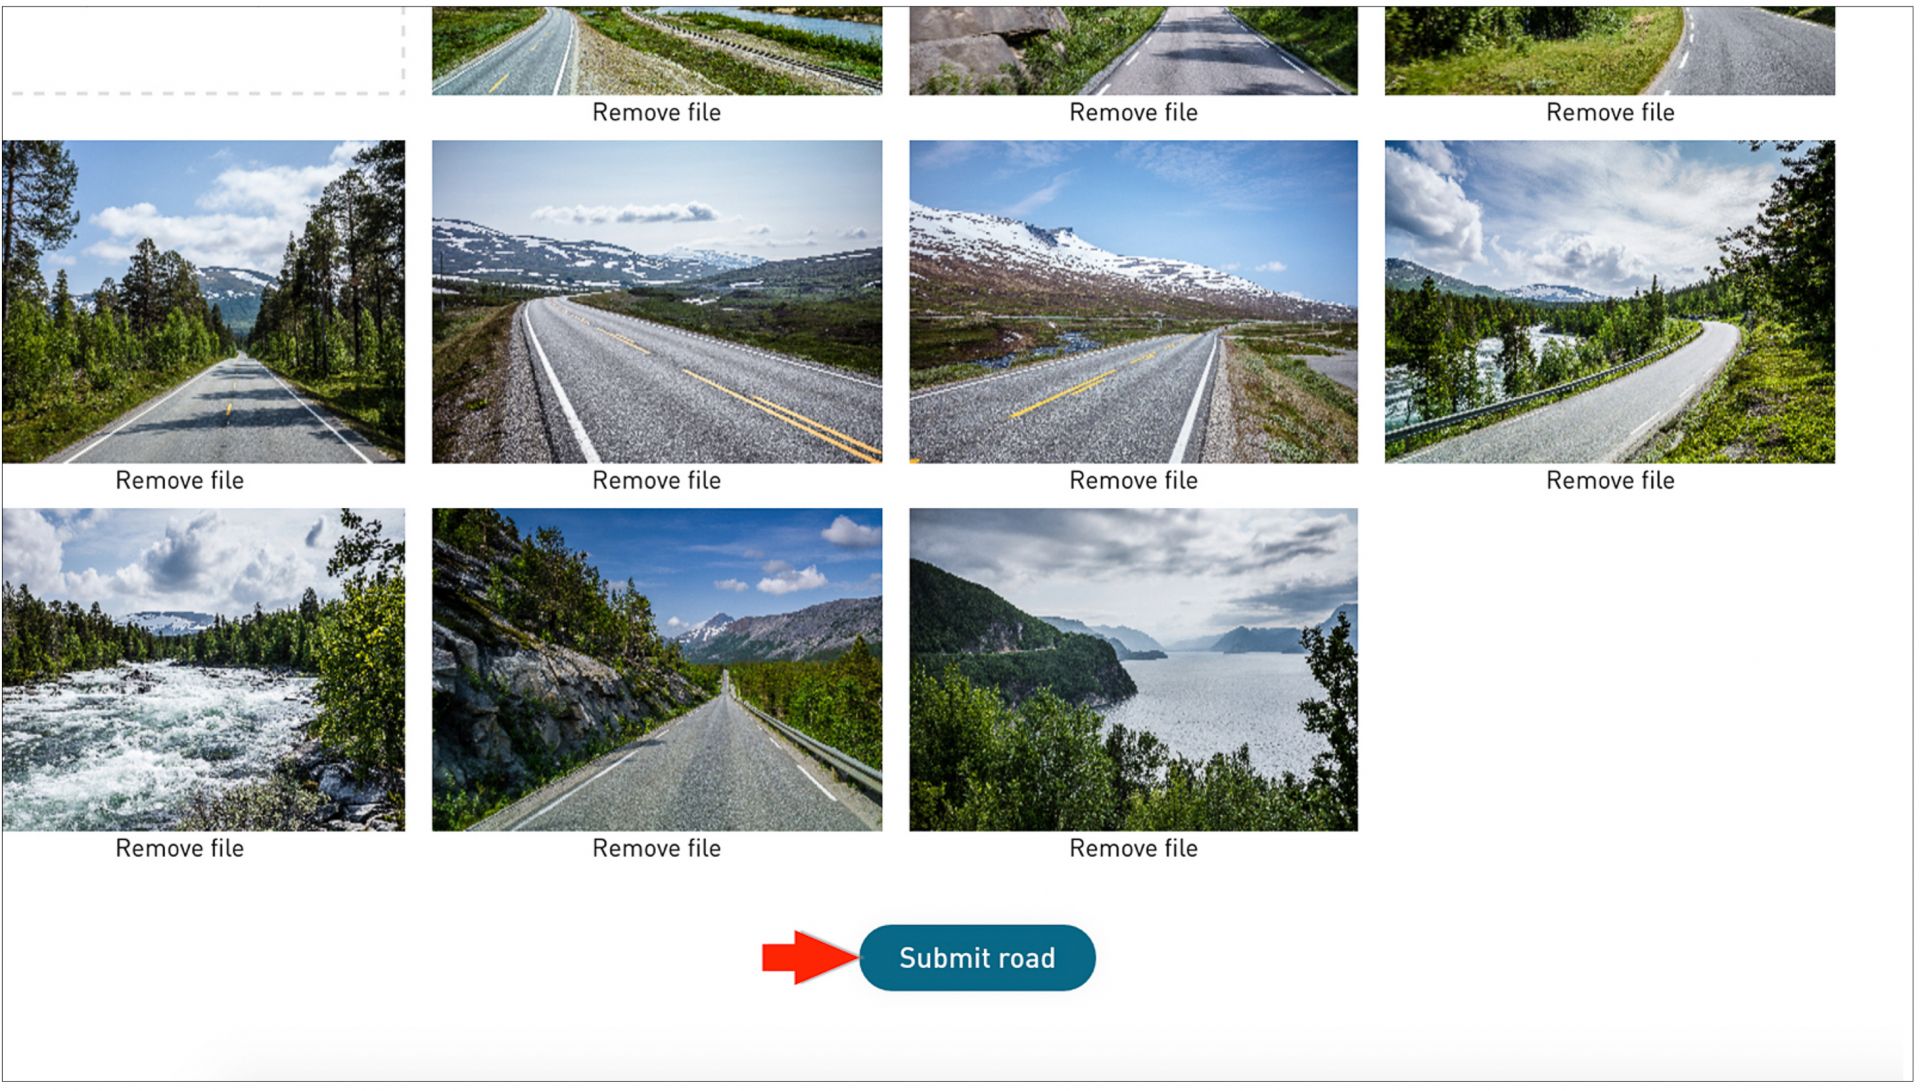
Here at Motorcycle Diaries we love riding great roads. Our website is all about creating, discovering, and riding roads. Anyone can create a road here. You might simply want to share a great road with the community, or build it into part of your next trip away with our Trip Planner.

The best roads created every month win either an Arai helmet or a set of Bridgestone tyres specific to your bike. So what's not to like? Start creating now.
 

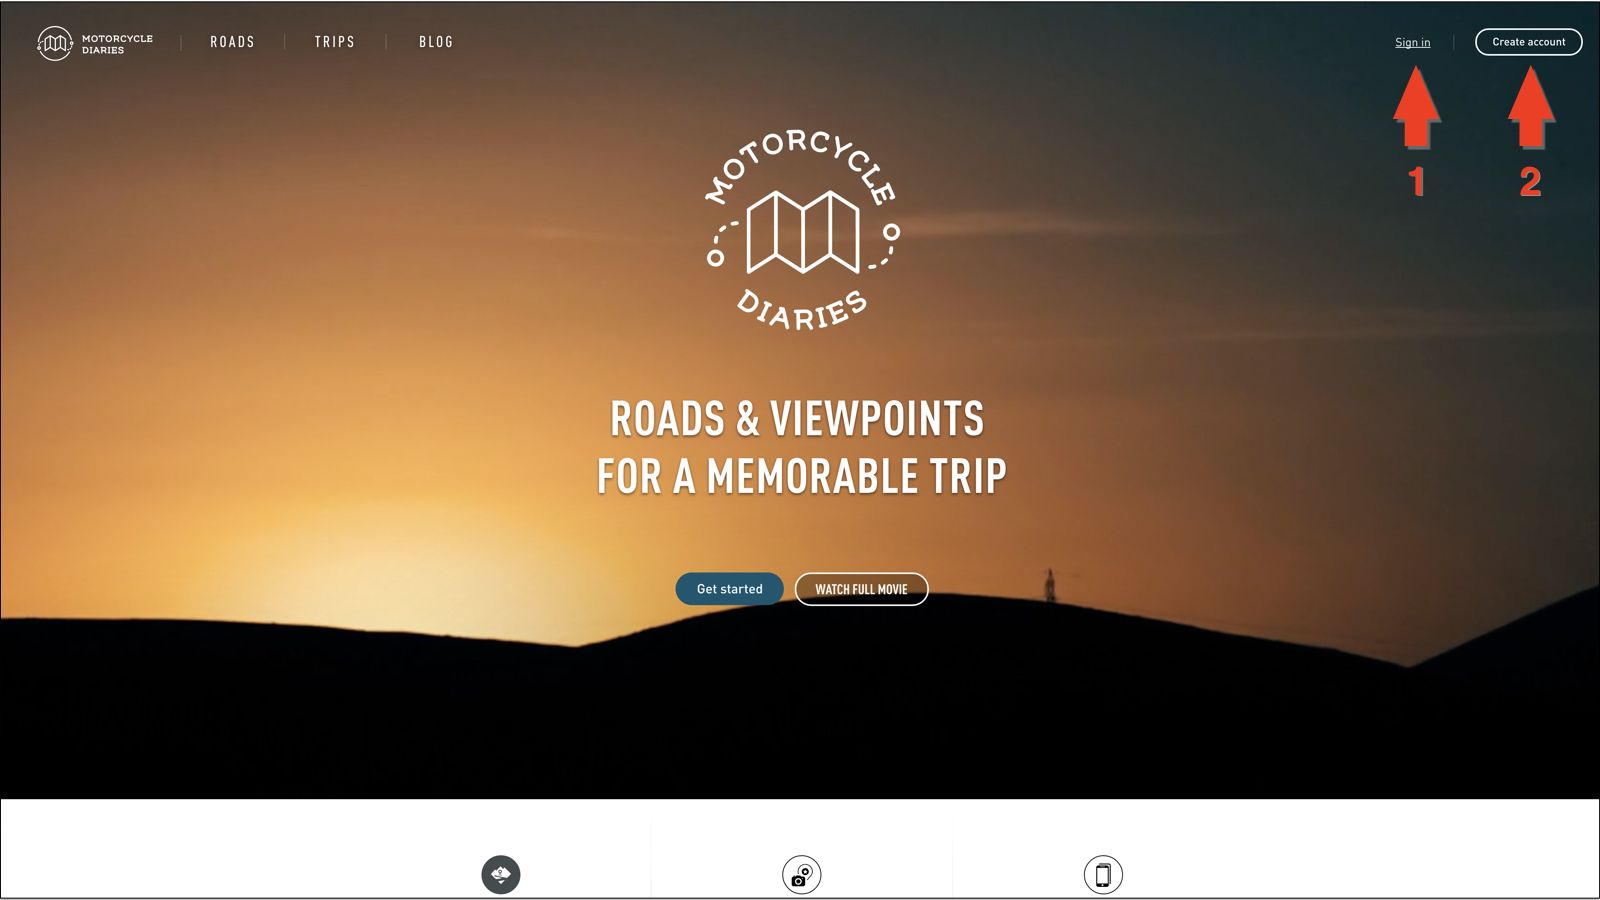
STEP 1: Sign In or Register


- Registering is free
- Immediately access all the site's content
- Download Road and Route GPX files
- We don't spam

We will never charge you for access to any of the site.


STEP 2: Click The Create Button


The Create Button is always in the top right hand corner of your screen, right next to your profile picture. Clicking it will give you a drop-down menu that includes 'Road', 'Trip', and 'Point of interest'. Go ahead and click on 'Road'.


STEP 3: Our Roads Pop Up


Take a moment to read our next pop up. In a nutshell, or should we say cylinder head, a road entry is for cataloging a single stretch of tarmac. The road entry doesn't include any directions to "take a left here", because that would turn the road into a route. That's what our Trip Planner's for. More about this in the next tutorial. When you've finished reading, click the "Start creating your road" button at the bottom.


STEP 4: Search On The Map


You can search for your road in two ways:

  1. Type the location of the starting point into the search bar and hit Enter.
  2. Zoom with the mouse wheel and click-and-drag the map to find the beginning of your road.


STEP 5: Draw Your Road!

A) The Start – When you've found your starting point, click on the map to add the start point. This should show up as a blue dot. We suggest you always start and end a road just outside a town or a little way away from any crossroad. This allows more freedom for combining roads into routes in the Trip Planner afterwards. The screenshot below shows our start point (marked '1') is just after the crossroads.


B) The End – Click and drag to move the map, and click once at the end of your road. Your road should now be highlighted. If you're having trouble getting the blue route line to follow your road, click and drag it back onto your road.

We also suggest that you split your road into two sections if there's an important crossroads on its route. Splitting the road like this again allows more freedom when combining roads into trips. Take a look at the screenshot below. The ring shows where we split this road in Norway into two parts because of the Storjord crossing – Fauske to Storjord, and then Storjord to Mo i Rana.


C) The Finished Road – If you're happy your road has been highlighted, click the blue 'Finish your road' button now. Take a look at our finished road, split into two separate road entries.


STEP 6: Name And Rate Your Road


  1. Name: Always give the road name in the same format: “Road Number + Start Village + End Village”. For example, we've named our road in the screenshot “E6, Fauske – Storjord”. Which location comes first isn't important, as you can invert roads in the Trip Planner. If the road's a famous one, then use its famous name: for example, “Umbrail Pass”. Don't include region or country as the site adds this data to the road entry automatically.
  2. Description: Write a short description of the road. English is the preferred language, but use your own if you feel more comfortable doing so.
  3. Rating: Go ahead and rate your road out of five for View, Surface, and Pleasure.
  4. Road Tags: Click on which images best describe your road. These tags are very useful, because they mean users can filter roads by different types.
  5.  

STEP 7: Upload Your Pictures

A picture can say a thousand words! Make sure you upload some great pictures of the road and surrounding landscape. These are more useful than pictures of just a bike, as they give other users a sense of how the road looks in real life. Roads with inspirational pictures are more likely to be used in other people's trips and have a higher chance of winning an Arai helmet or a set of Bridgestone tyres in the monthly competition. These prizes have a value of around €500, so they deserve to be won by great pictures, wouldn't you say?

To upload, click on the photo logo seen in the screenshot below (1). Your computer will then open the upload window. Find and select the images you want to upload (2), and click “Open” to upload (3).


IMPORTANT: Make sure your pictures are good resolution and that the file size is between 3MB and 5MB. Pictures like this look best on the website. What good is a great picture if it's let down by poor resolution?


STEP 8: Order Your Pictures

The first picture shown top-left in the picture library will be the cover picture of your road. If you want to choose a different picture from the ones you have uploaded, you can drag-and-drop that picture into the first spot.


ABOUT PICTURES

  • Please upload pictures that you have taken yourself, or that you own the copyright for.
  • Please don't use other people's pictures without their permission.
  • Please don't use screenshots from Google Streetview.
  • Roads that are uploaded without pictures will appear on the website, but only at the bottom of search results. These roads are not eligible for monthly prizes.


STEP 9: Click Submit

After you've finished describing your road and uploading pictures for it, click on the “Submit road” button at the bottom of the page. That's it! Your road is now uploaded.


YOU'RE DONE!

Your first road is now live on the website. You'll be taken straight to the road entry page after submitting it. It'll also be shown in the atlas. Go check it out, and share it with your friends on social media.


FREQUENTLY ASKED QUESTIONS

Q. How do I edit my road?

A. If you've made a mistake, you can always edit your road. Go to your profile and click on the road that needs correcting. Then find the little pencil logo next to the road name and click on it – we've pointed it out for you in the image below. Now you can make the corrections and re-submit.


Q. What if a road already exists?

A. You can add your own comments, review, and pictures to a road that already exists on the site. Go to the page of the road in question, and scroll down to find the “Write Review” and “Add Photos” buttons seen in the image below. Uploading pictures like this also makes you eligible for our monthly prizes!


IMPORTANT
We understand that uploading a great road entry may take some time. However, the better your submissions, a better platform for discovering and planning your trips Motorcycle Diaries will become! And of course, great road entries win great prizes.


www.motorcycle-diaries.com/en/roads/e6-fauske-storjord

www.motorcycle-diaries.com/en/roads/e6-mo-i-rana-sorjord

Más historias

RTWPaul: Riding 48 States - Utter Ridiculousness With 8hp Part 1 of 2

RTWPaul: Riding 48 States - Utter Ridiculousness With 8hp Part 1 of 2

Iceland, Part V

Iceland, Part V

A sparkling adventure ride

A sparkling adventure ride